


Dickson Support Database
Equipment
About Equipment #
- Equipment Views provide a new way to organize and visualize monitoring points, especially useful for a single device with dual probe sensors monitoring multiple pieces of equipment, or having more explicit naming conventions for monitoring points.

- Equipment Views are flexible with 9 pre-defined Equipment Types, or the ability to add a Custom Equipment Type if the predefined options do not cover your use case.
Getting Started with Equipment #
- Navigate to the Monitor Equipment page by clicking Monitoring Points > Equipment.
- Select Create Equipment to begin.
- Provide a name for the equipment, we recommend being as detailed as possible here utilizing any naming conventions leveraged by your organization.
- Choose your Equipment Type or Custom if one of the provided options does not exist.
- Select the Location that this piece of Equipment is a part of, or create a new location. This is important for the overall organization of monitoring points.
- Search for and connect equipment to channels, which will enable monitoring and alerting. This may also be adjusted later on. Decide if you would like to only include channels in the same location, or if you plan to connect channels from different locations.
- Click Create Equipment to save. You will be directed to the Monitor Equipment page and your equipment will be available for monitoring.
- Now that you have created equipment, you may add them to your Custom Dashboards.
Note: If you opt to connect channels from different locations, other users in the organization may be able to view the channels even if they do not have access to the locations themselves.
Pro Tip: Make sure you have existing devices and channels named in such a way that you’ll be able to easily search for and distinguish them from one another when attaching them to equipment.
Equipment Alarms #
About Equipment Alarms #
- Alarm Templates may be applied to Equipment, with the exception of not reporting alarms, which are tied to specific devices.
- Equipment alarms allow for specific naming of assets to better represent the scope of the alarm for more efficient triage.
To apply an alarm to existing equipment:
- Select Monitoring Points, then choose Equipment
- On the equipment you would like to apply the alarm, click the three dots to open the overflow menu and choose Alarms.
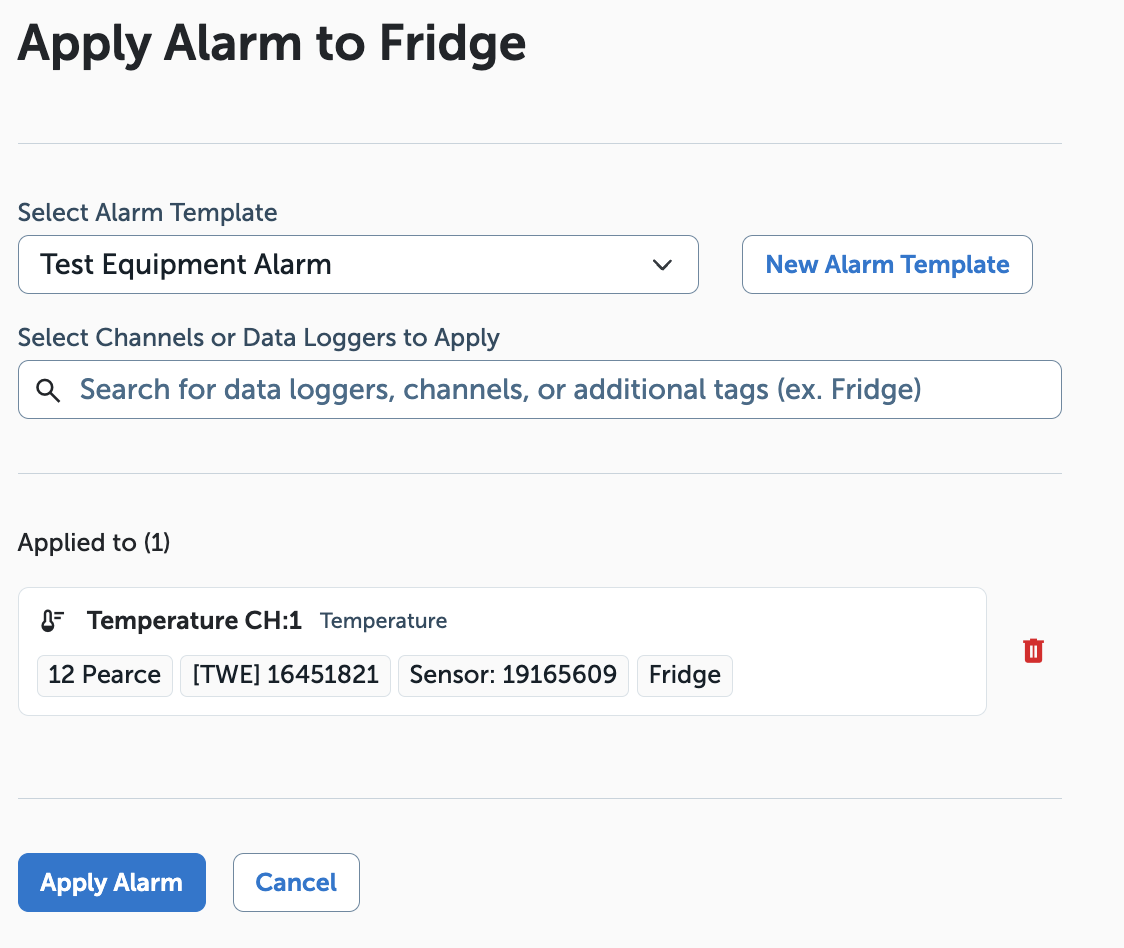
- Click Apply Alarm, select an existing alarm template or choose to create a new alarm template.
- From the dropdown menu, choose the channel or data logger. Once you have added all intended channels or data loggers, choose Apply Alarm.
- You will be taken back to the Alarm page for the equipment where you can edit or unapply the alarm as needed.
Reports #
- Equipment may be included in Reports, allowing for additional granularity and personalized naming conventions to appear in the generated reports.
To create a report with equipment
- From the left-hand navigation, select Reports.
- Click Create a New Report
- Choose a Report Type
- Search for and select the monitoring points you would like included in the report. Select the checkbox if you would like only equipment to be included for selected Locations instead of Data Loggers. This provides the equipment naming and granularity in the generated report.
- Provide a Report Name, adjust the time zone if needed, choose the frequency of the report, and the date you would like the first report delivered. Identify the email address you would like the report sent to and add any other necessary recipients.
- Select Save and Continue. Confirm all details are accurate on the Summary page, then click Save and finish.
Audit Trail #
- Equipment events will be logged in the Audit Trail, helpful for tracking any changes.
To view Equipment events in the Audit Trail:
- From the left-hand navigation, select Audit Trail.
- By default, all audit trail events will be displayed, filter down by selecting Equipment from the Event Types field and clicking Filter.
- Only Equipment audit events will be showing, clicking the carrot to the left of the date will reveal more details about the audit event.